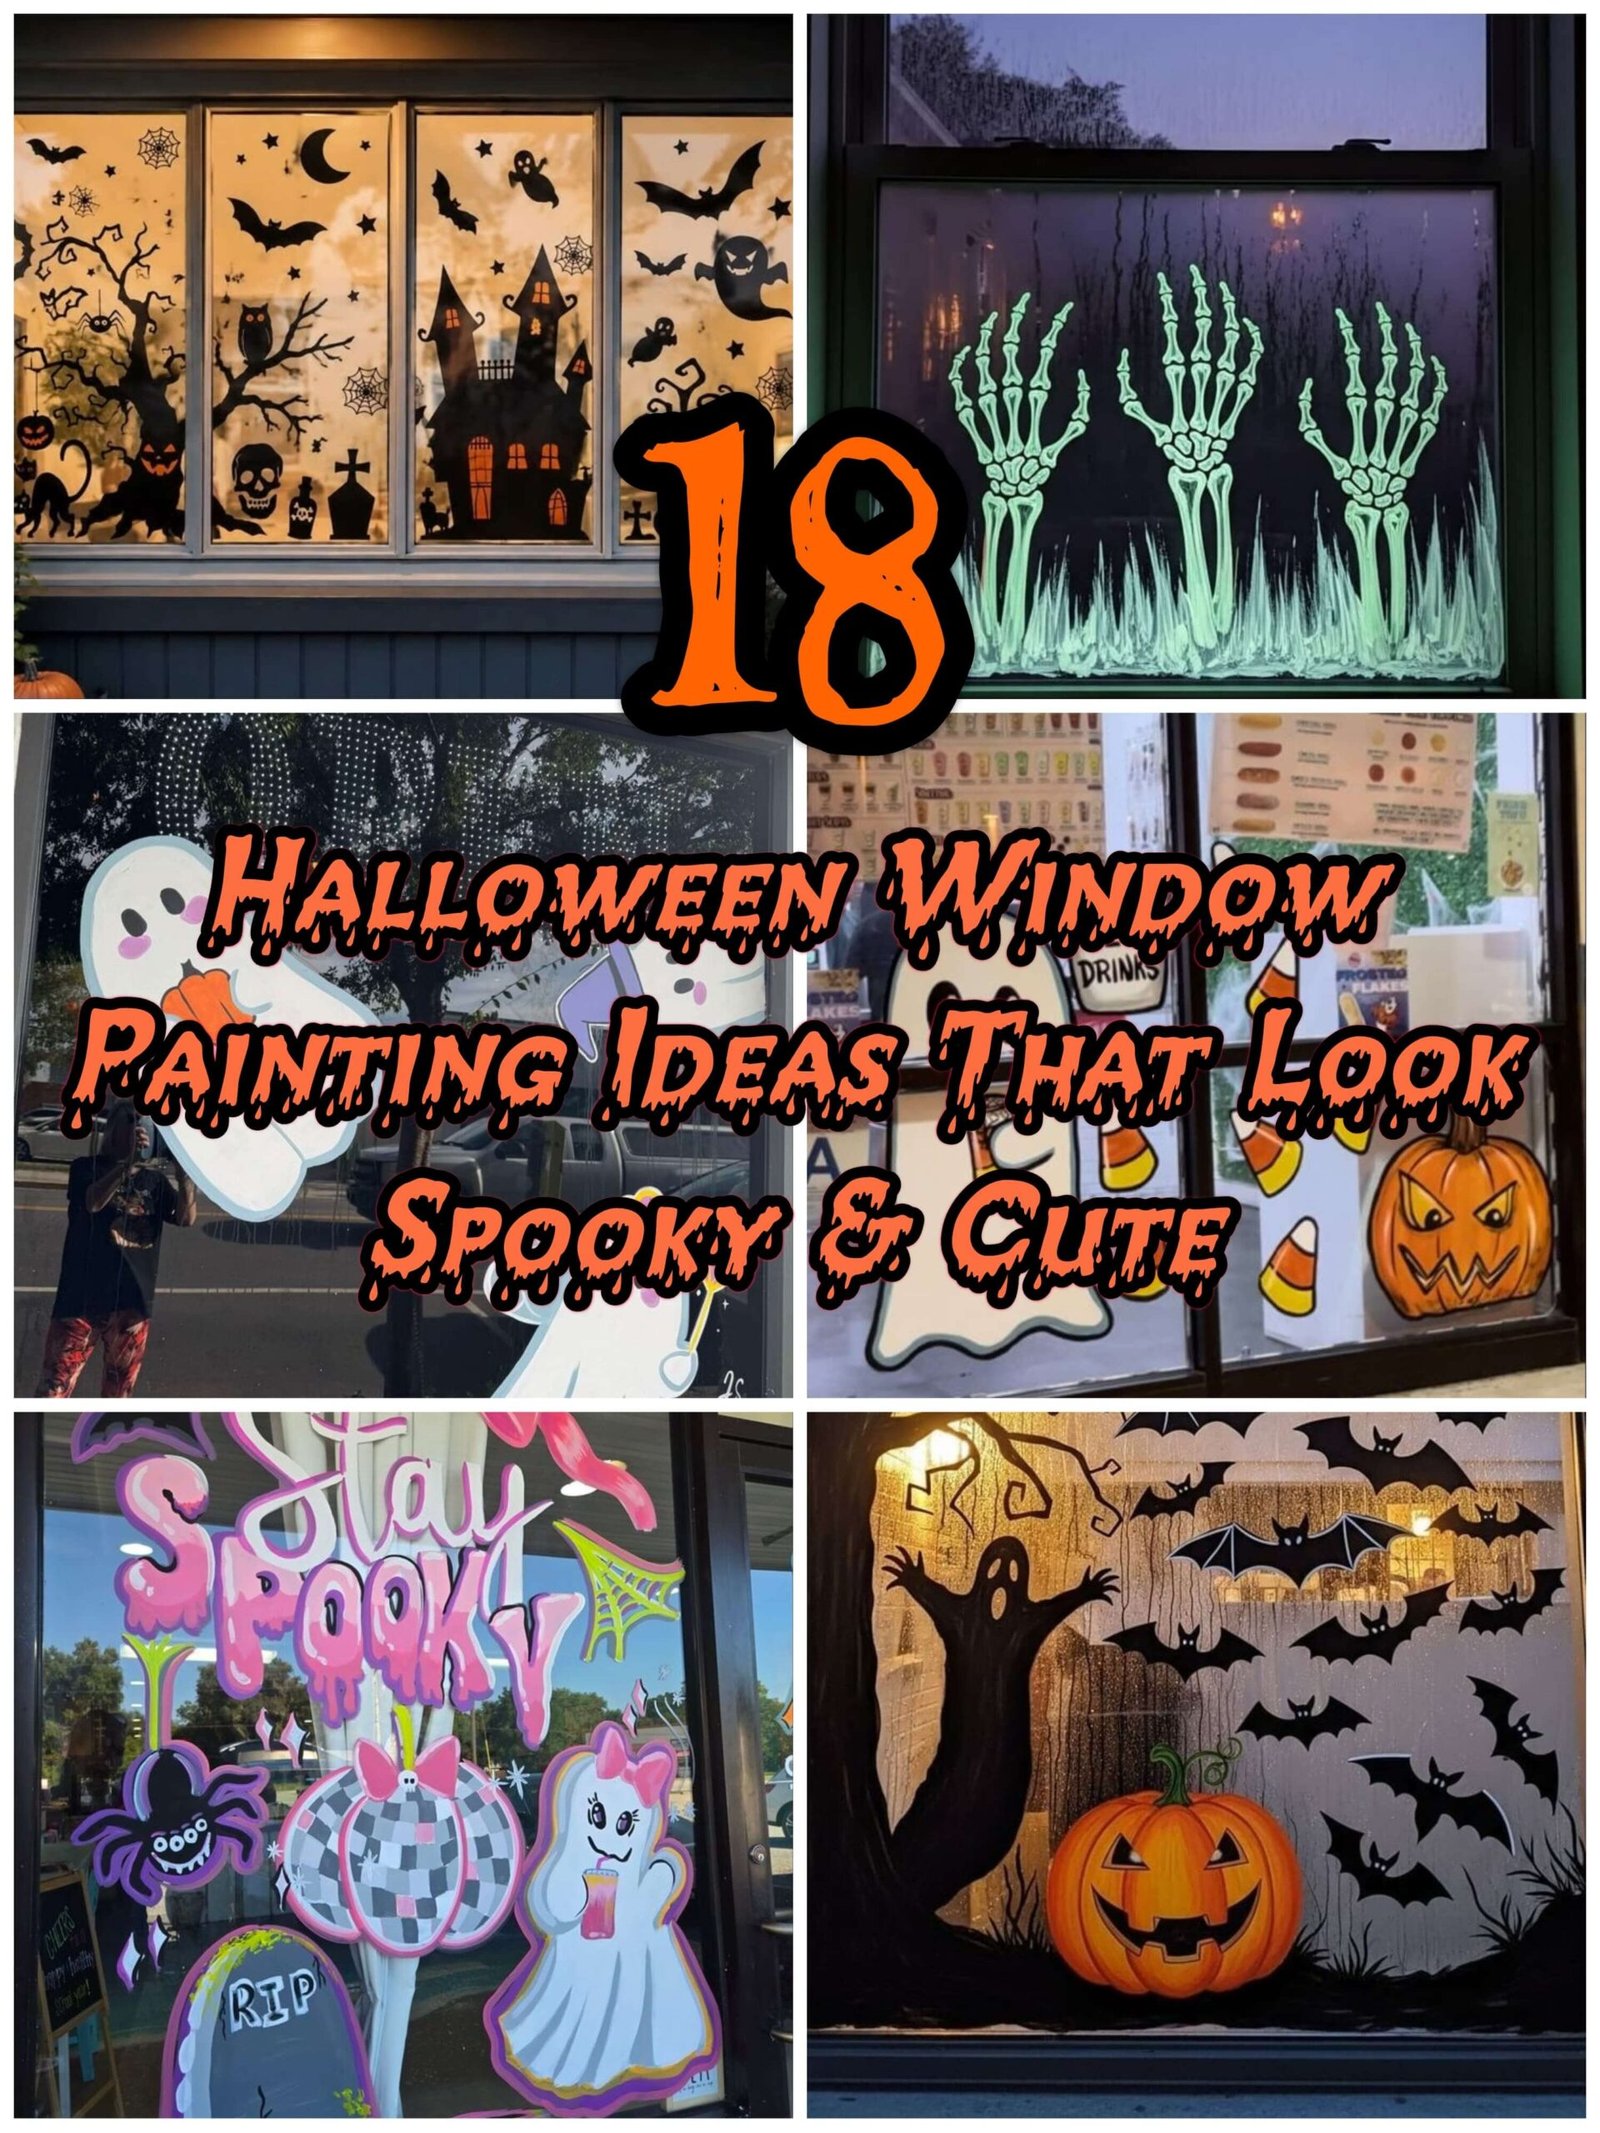
18 Halloween Window Painting Ideas That Look Spooky & Cute
There’s something about a painted Halloween window that makes an ordinary house feel a little more magical.
Maybe it’s the tiny ghosts floating across the glass, the glowing pumpkins that look adorable from the street, or the spooky silhouettes that become even more dramatic after sunset.
And the best part? You don’t need to be an amazing artist to make it work.
Some of the cutest Halloween window painting ideas are surprisingly simple. A few white ghosts, a cluster of black bats, or a row of colorful pumpkins can completely change the look of your windows without requiring expensive decorations.
You can keep things playful with pastel colors and smiling characters, go classic with witches and haunted houses, or create something a little moodier with gothic moons and creepy branches.
Whether you’re decorating your living room, front window, kitchen, or a small apartment, these 18 ideas offer plenty of inspiration for creating Halloween windows with personality.
1. Floating White Ghosts
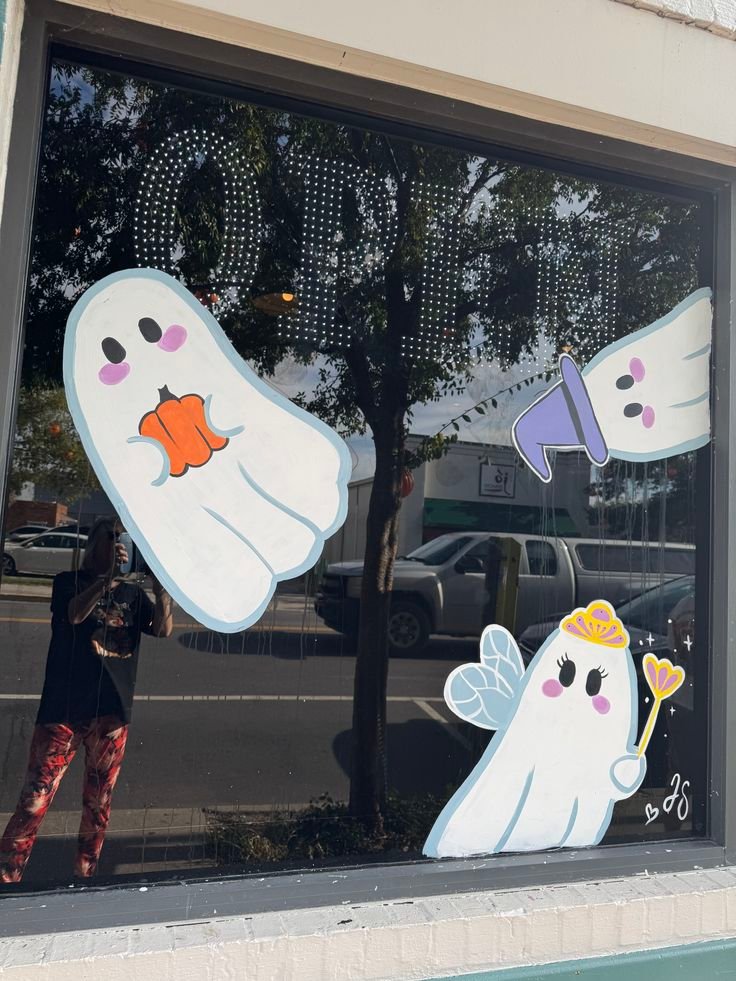
Paint several across the glass at different heights, giving each one a slightly different expression. One might look surprised, another can have a big happy smile, and a third could be floating sideways as if it has absolutely no idea where it’s going.
Use white window paint for the bodies and a black paint marker for their eyes and mouths. You can add tiny stars or sparkles between them to make the arrangement feel more playful.
The nice thing about this design is that you don’t have to cover the entire window. A handful of floating ghosts scattered across the glass can look just as cute.
Try painting them on a front-facing window so they can be enjoyed from both inside and outside the house.
2. Smiling Jack-o’-Lanterns
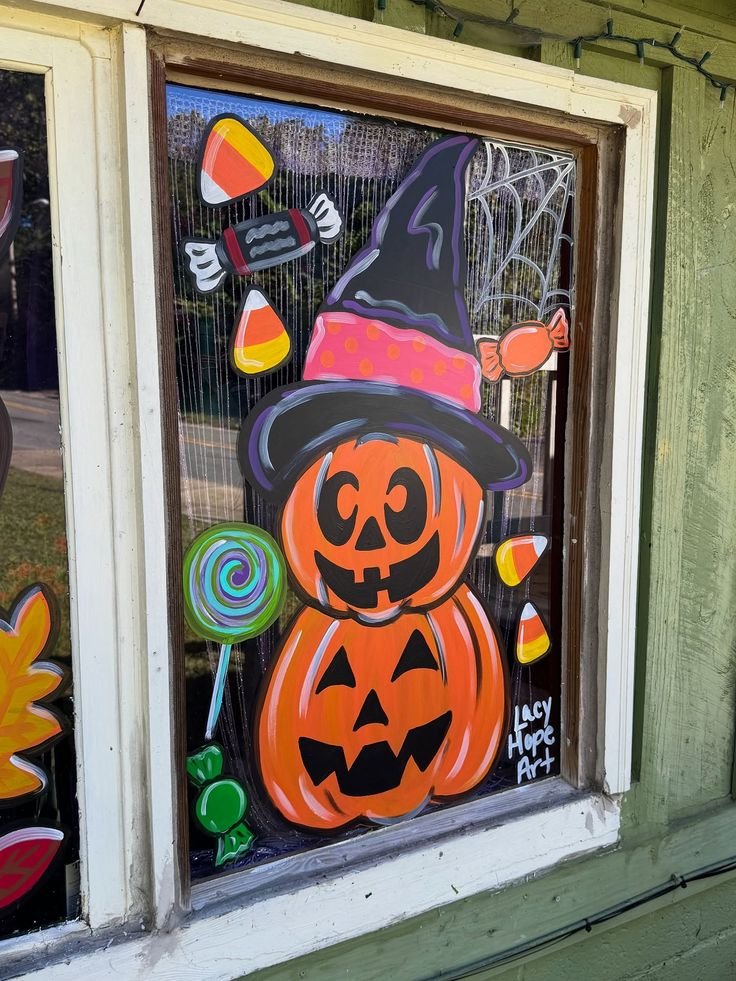
A row of painted pumpkins is a classic Halloween decoration that never really gets old.
Paint three or four pumpkins along the bottom of your window, varying their sizes and expressions. Give one a traditional toothy grin, another a sleepy smile, and maybe one a slightly confused face.
Bright orange works beautifully against a clear window, but you can mix in pale peach, muted terracotta, or even soft pink for a more colorful display.
Add little green stems and curling vines to connect the pumpkins visually.
If you want something that looks especially charming from outside, arrange the pumpkins like they’re sitting together on a windowsill.
It’s simple, cheerful, and perfect for a family-friendly Halloween display.
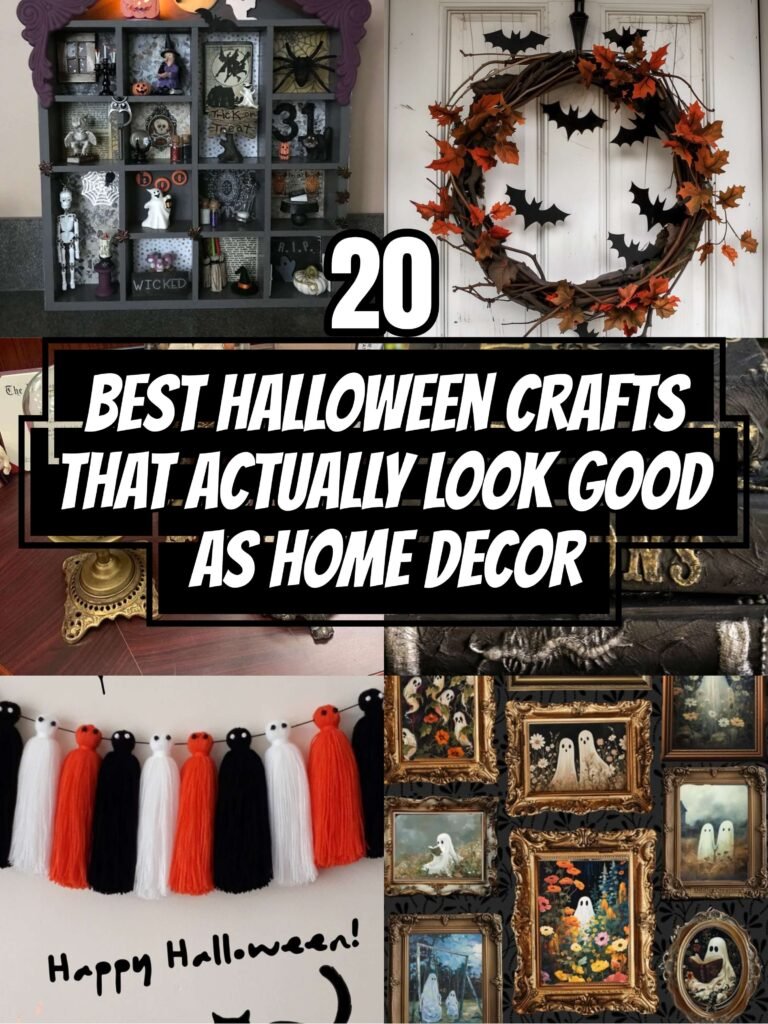
20 Best Halloween Crafts That Actually Look Good as Home Decor
3. Flying Bat Silhouettes
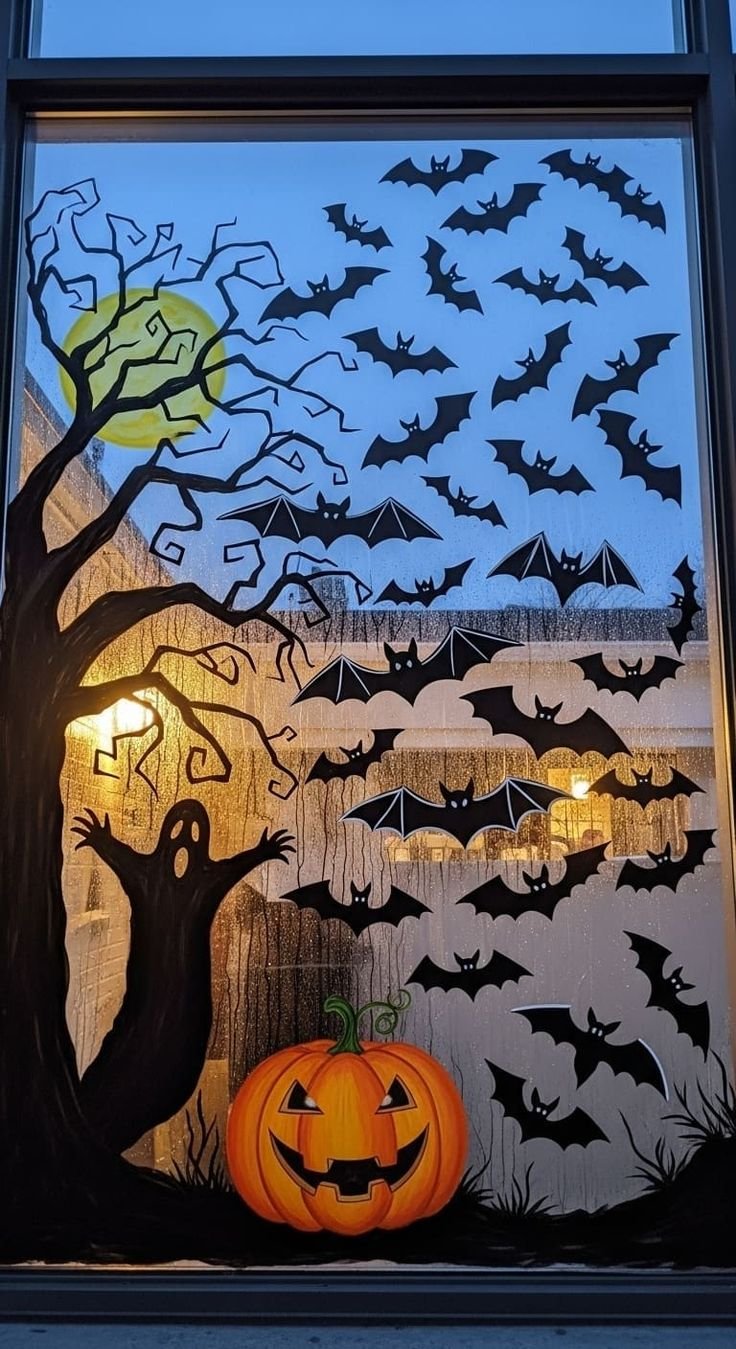
If you’re looking for an easy design with a little more spooky atmosphere, black bats are a great place to start.
Paint a collection of bat silhouettes flying diagonally across the window. Make some larger and others smaller so the arrangement looks like a little group flying through the night.
You can keep the bats completely black or add tiny purple details for a more playful look.
This design works particularly well on tall windows because you can create movement from one lower corner toward the opposite upper corner.
For a more dramatic effect, combine the bats with a pale painted moon.
And don’t worry about making every bat identical. Slightly different wing shapes actually make the finished window feel more interesting.
4. Haunted House Silhouette
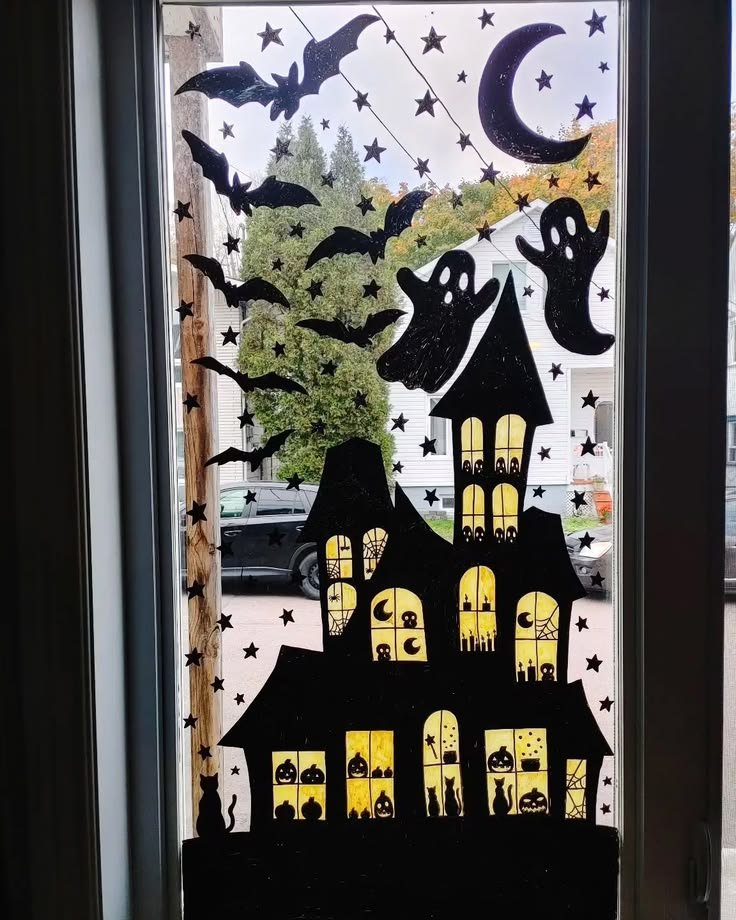
A haunted house is perfect when you want your Halloween window to become a miniature spooky scene.
Paint a crooked black house with a tall roof, uneven windows, and a little chimney. Add yellow or orange window details so the house appears to be glowing from inside.
Behind it, paint a large pale moon and a few scattered stars.
You can make the house as simple or elaborate as you like. A basic silhouette with a few windows is surprisingly effective, especially when viewed from a distance.
For a larger window, add a winding path, a small fence, or one bare tree beside the house.
This design looks particularly atmospheric when the room behind the window is softly illuminated in the evening.
5. Spider Web Corners
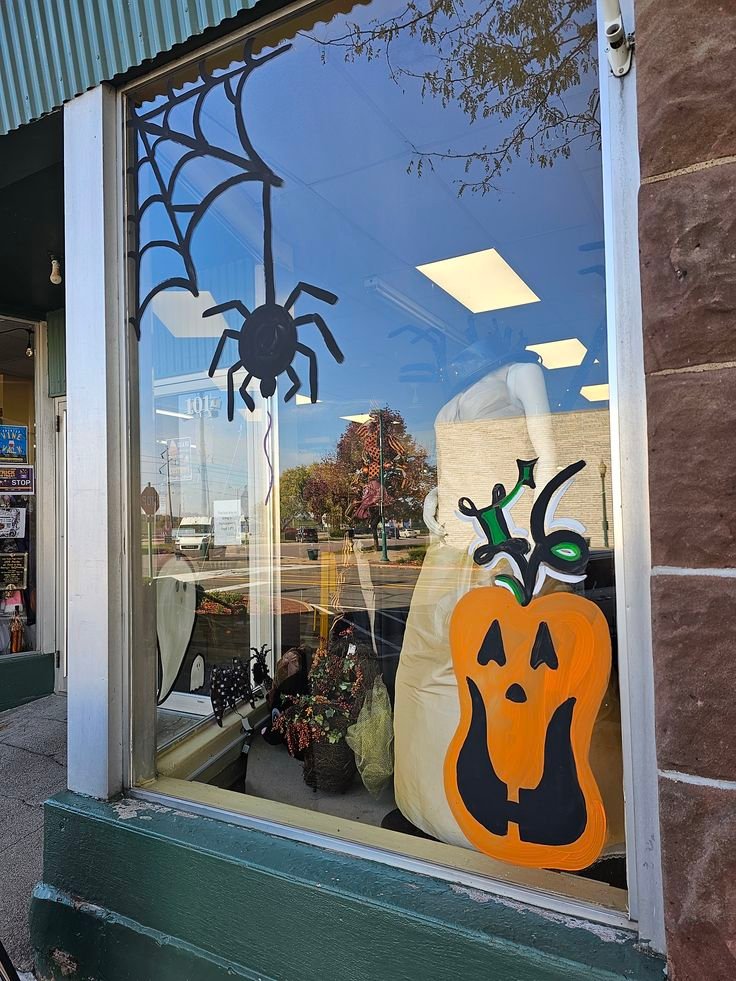
Spider webs are one of those Halloween decorations that look complicated but are actually pretty forgiving to paint.
Start in one upper corner of your window and draw several curved lines radiating outward. Connect them with smaller curved sections until you have a delicate web spreading across the glass.
Use white paint for a traditional look, or try silver and pale lavender for something slightly different.
Add a tiny black spider hanging from a thin painted thread.
You can paint matching webs in opposite corners or keep just one as a subtle Halloween detail.
The design is especially useful for smaller windows because it decorates the edges without blocking the entire view.
6. Black Cat and Crescent Moon
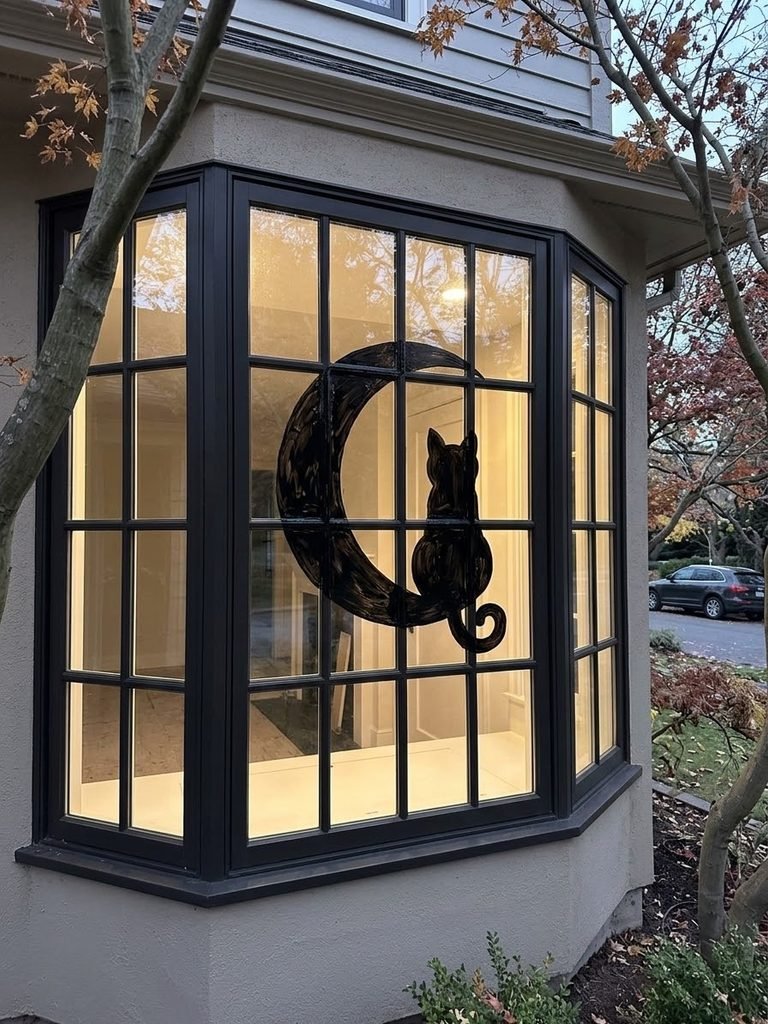
A black cat sitting beneath a crescent moon creates a Halloween window design that’s spooky, elegant, and a little mysterious.
Paint the cat in silhouette, with pointed ears and a long curling tail. Position a large crescent moon above it and scatter a few tiny stars around the composition.
A deep purple or midnight-blue accent can make the scene feel more atmospheric without requiring you to paint the entire background.
For a playful version, give the cat bright yellow eyes and an exaggerated curved tail.
This design works beautifully in a bedroom or living room window, particularly if you prefer Halloween decorations that feel a little more sophisticated than scary.
7. Witch Flying Across the Moon
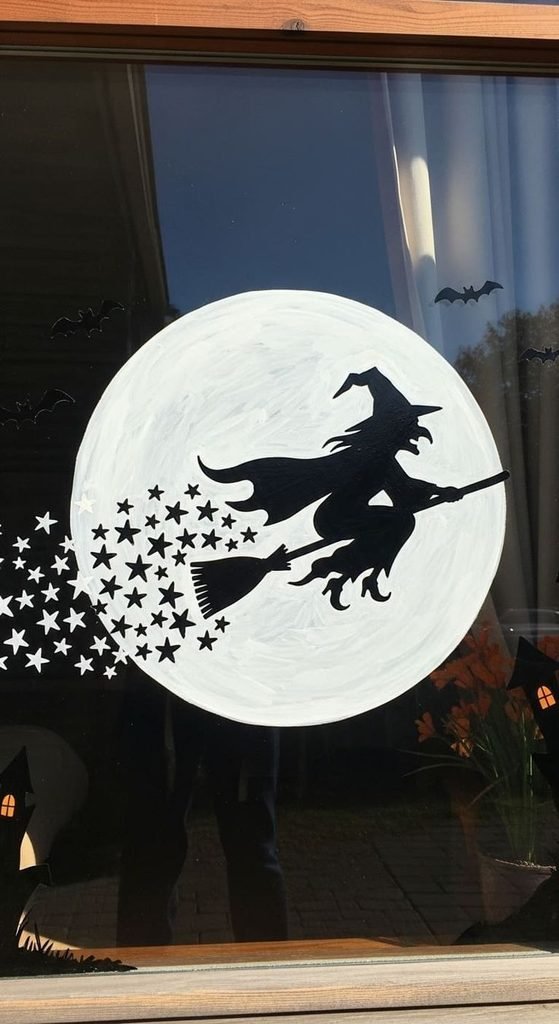
A flying witch is one of the most recognizable Halloween scenes, and it looks fantastic painted on a window.
Start with a large round moon as your background. Then add the silhouette of a witch on a broomstick flying across its center.
Keep the silhouette relatively simple. A pointed hat, flowing cape, broom, and a few recognizable details are enough to make the scene work.
Add a few tiny bats or stars around the moon if you want to fill more of the glass.
For a particularly dramatic look, use a pale yellow moon against black painted details.
Position the design in the center of the window so the moon becomes the main focal point.
8. Colorful Candy Corn
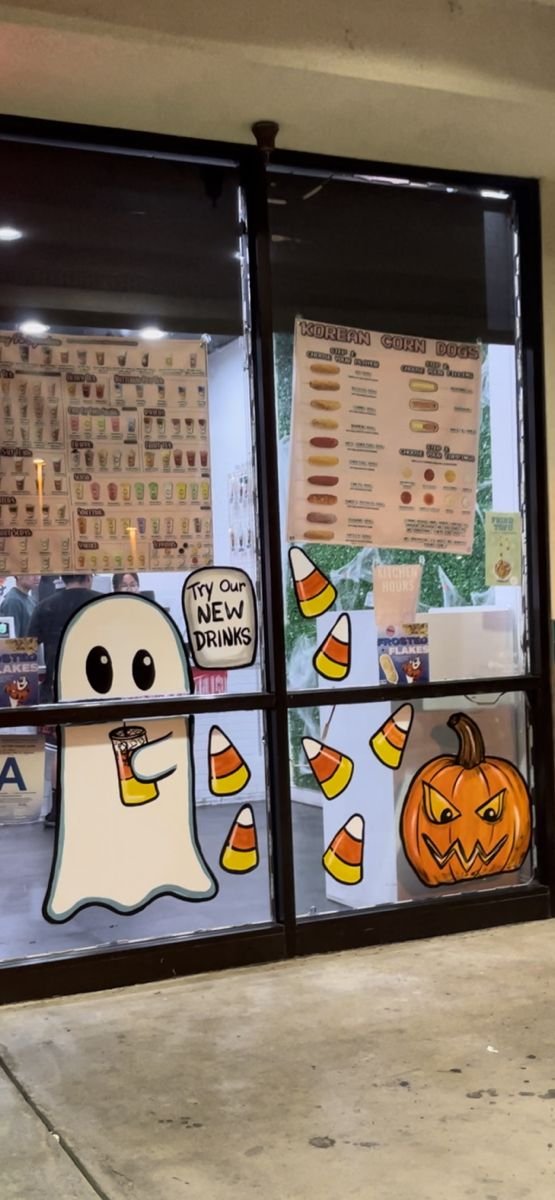
Not every Halloween window needs to be spooky.
If you love cheerful seasonal decorations, try painting little candy corn shapes across your window in orange, yellow, and white.
Arrange them in loose clusters or create a playful border along the bottom of the glass.
You can give a few pieces tiny smiling faces for an extra-cute touch.
Candy corn also pairs nicely with little stars, colorful dots, and simple Halloween doodles.
This design is particularly fun for kitchen windows, playrooms, or anywhere you want a bright Halloween display without darker imagery.
It’s also an approachable painting project for beginners because the shapes are simple and don’t require much detail.
9. Skeleton Hands
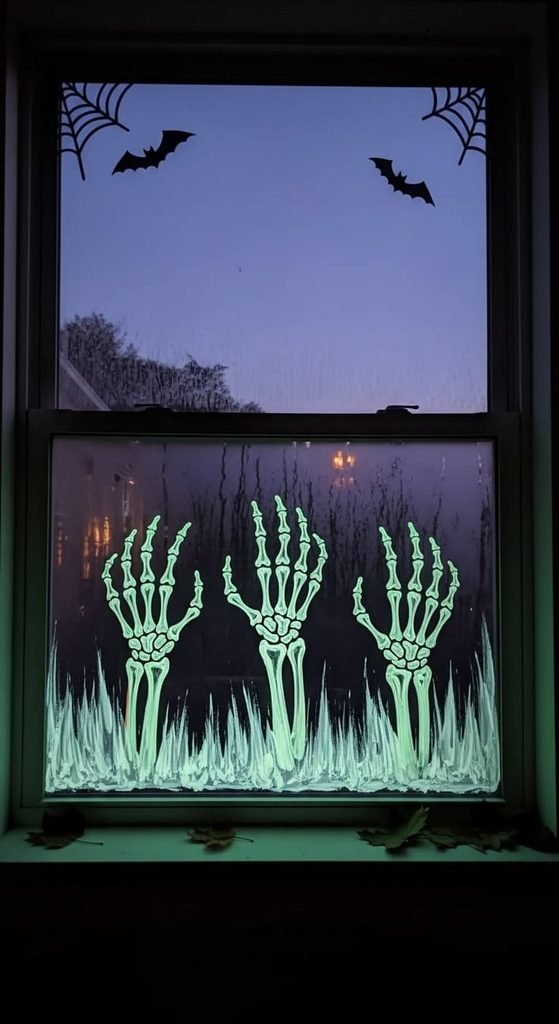
For something a little creepier, paint white skeleton hands reaching up from the bottom of the window.
Position the hands at different angles so they look as though they’re emerging from below the windowsill.
You can keep the design fairly simple with white outlines and a few black details to define the bones.
For a more dramatic arrangement, paint one hand reaching toward a small orange pumpkin or a floating ghost.
The contrast between white paint and dark evening glass makes this design particularly striking.
It’s a fun choice for a front window when you want something spooky without covering the entire surface in a complicated scene.
10. Glowing Monster Eyes
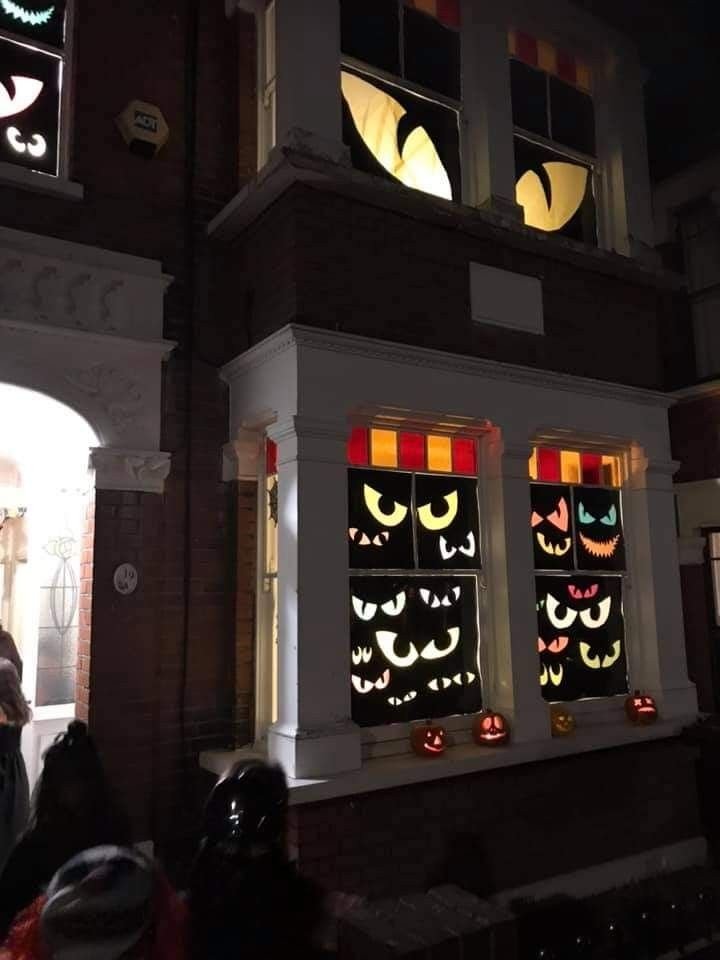
Here’s a Halloween window painting idea that looks especially fun after dark.
Paint several pairs of monster eyes scattered across the glass, using bright yellow, orange, green, or purple.
Give each pair a different shape. Some can be large and round, others narrow and suspicious, and a few can have exaggerated eyebrows.
Keep the surrounding glass mostly clear so the eyes appear to float in the darkness when viewed from outside at night.
You can add small black pupils and a few subtle highlights to make the expressions more dramatic.
This is a great option if you want a spooky effect without painting an entire character.
11. Spooky Graveyard Scene
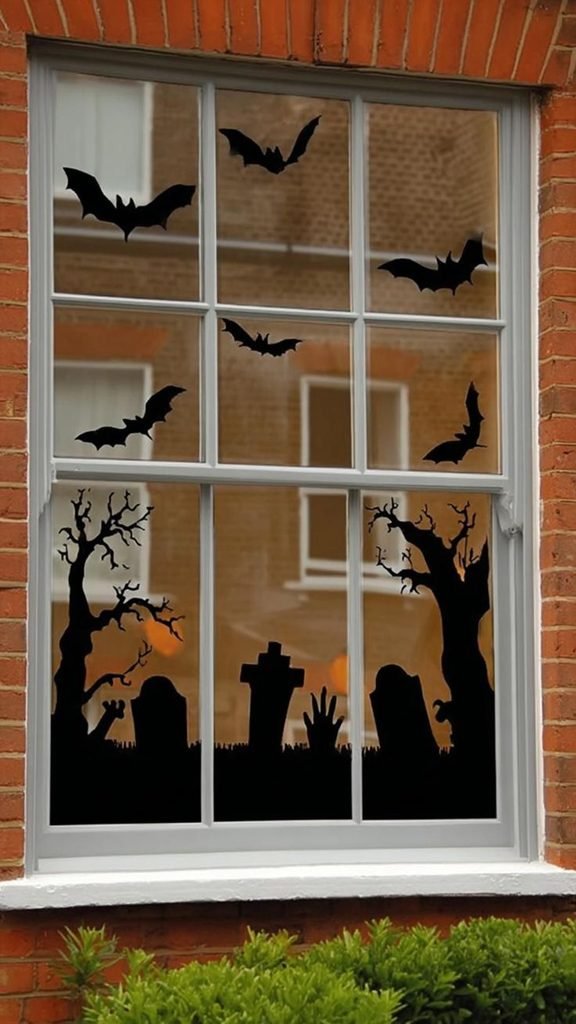
Turn the bottom section of a large window into a miniature haunted graveyard.
Paint a row of crooked tombstones in black and gray, then add a bare tree, a few bats, and a pale moon in the background.
Keep the shapes varied rather than making every tombstone identical. Some can lean slightly, while others have rounded or pointed tops.
A little painted mist along the bottom can make the scene feel even more atmospheric.
This design works especially well on wide windows where you have enough room to create a landscape.
If you’re decorating a front window, consider leaving the upper section mostly clear so the room still receives natural light.
12. Pastel Halloween Doodles
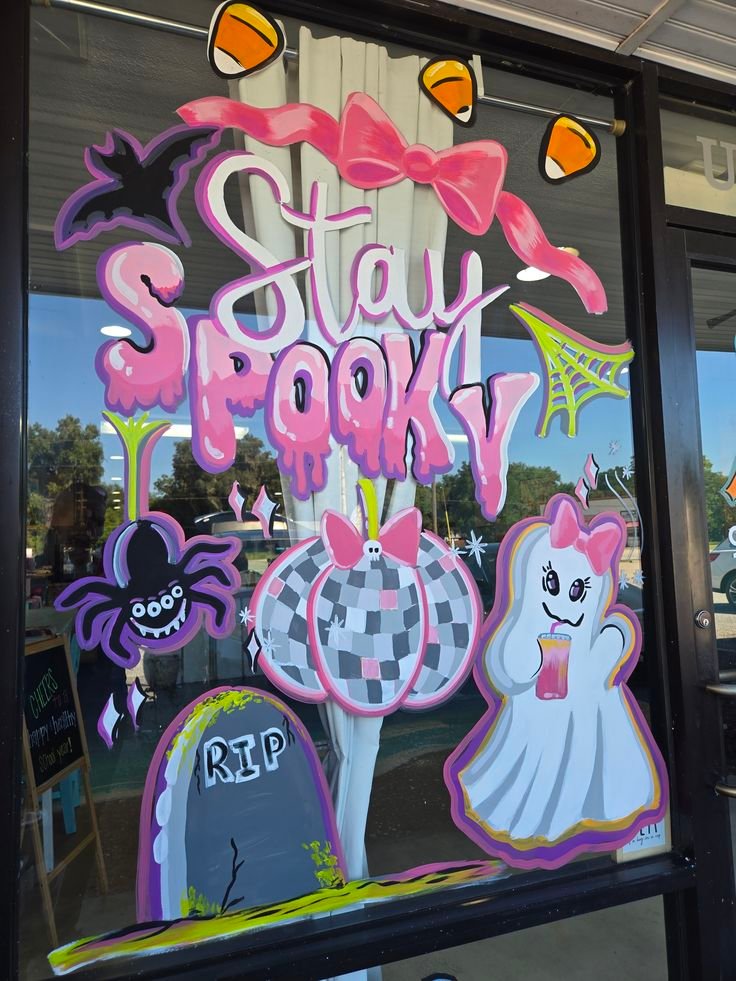
Who says Halloween decorations have to be orange and black?
Try a pastel window filled with tiny ghosts, pink pumpkins, lavender stars, little bats, and smiling crescent moons.
Use a loose arrangement so the designs look like playful doodles scattered across the glass.
Soft peach, dusty pink, lavender, pale mint, and cream can create a surprisingly charming Halloween color palette.
The trick is keeping the illustrations simple and letting the colors do most of the work.
This is a lovely option for anyone who enjoys cute Halloween decor or wants something that works with a colorful home.
It also looks adorable in smaller bedroom windows.
13. Witch’s Potion Bottles
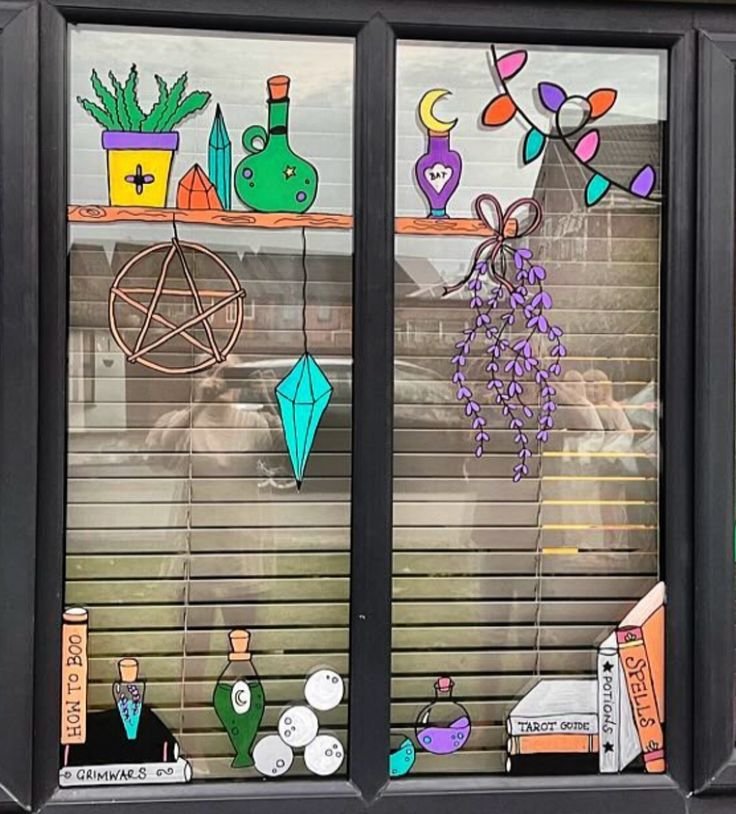
A collection of colorful potion bottles can turn your window into a tiny witch’s workshop.
Paint several bottles in different shapes and sizes, using purple, emerald green, turquoise, and orange for the magical liquids inside.
Give the bottles cork stoppers, little bubbles, and decorative symbols.
You can arrange them along the bottom of the window like they’re sitting on a shelf, with a few painted stars or magical sparkles floating above them.
For a more detailed design, add one bubbling cauldron beside the bottles.
This idea is especially fun if you enjoy colorful Halloween decorations with a slightly whimsical atmosphere.
14. Creepy Tree Branches
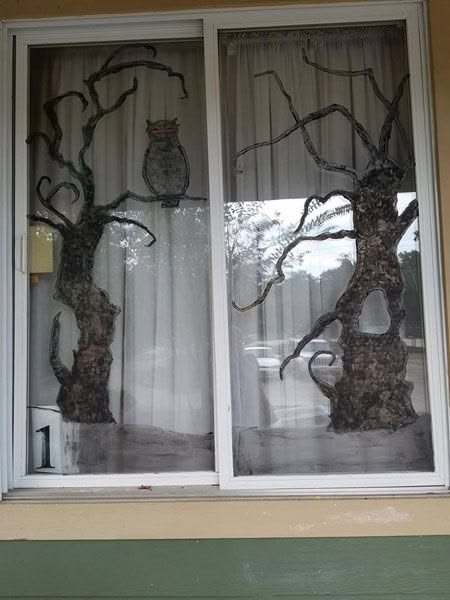
Sometimes the simplest Halloween window paintings create the strongest atmosphere.
Paint dark, twisting tree branches reaching inward from one or both sides of the window.
Use black or deep charcoal paint and give the branches irregular shapes so they look old and slightly creepy.
Add a few tiny bats, an owl silhouette, or a small crescent moon between the branches.
The design works beautifully on tall windows because the branches can follow the natural shape of the glass.
It also leaves plenty of clear space in the center, making it a practical choice when you don’t want to block too much daylight.
15. Ghost Holding a Pumpkin
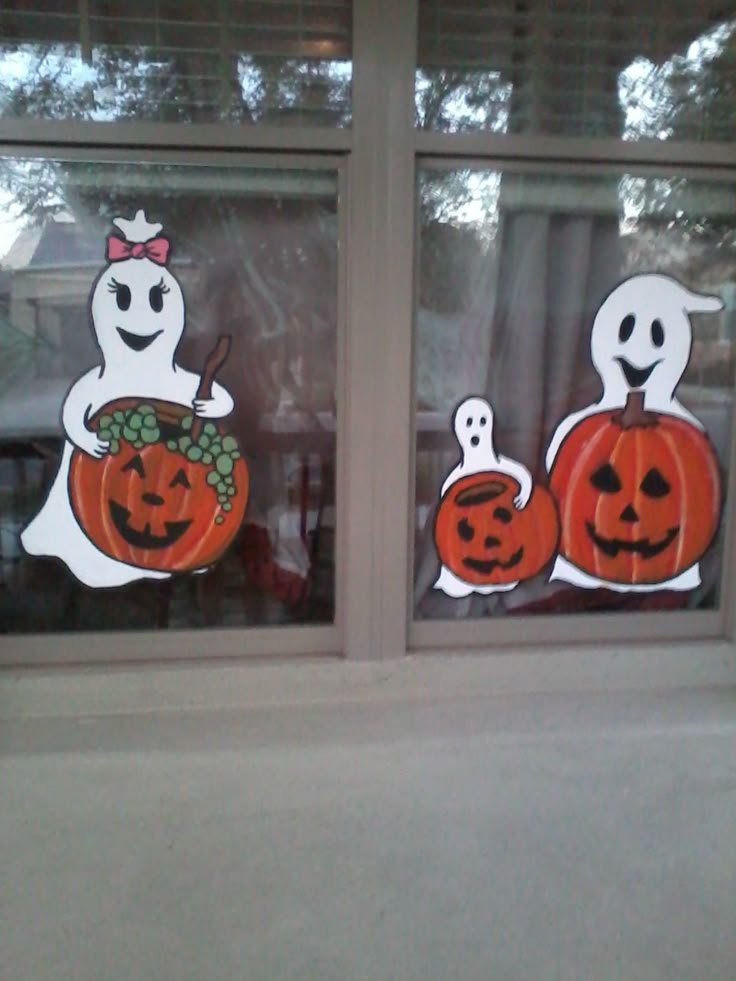
Instead of painting lots of little characters, make one adorable ghost the star of your window.
Paint a large white ghost with rounded edges and a happy expression, holding a small orange pumpkin in front of its body.
Give the pumpkin a tiny carved face, or leave it plain for a softer look.
Add a few little stars or falling leaves around the character to complete the composition.
This design is especially cute on a small window because the single character is easy to recognize from a distance.
You could even give the ghost rosy pink cheeks for a slightly more playful personality.
18 Halloween Door Decoration Ideas That Are Spooky, Cute & Creative
16. Halloween Stained Glass
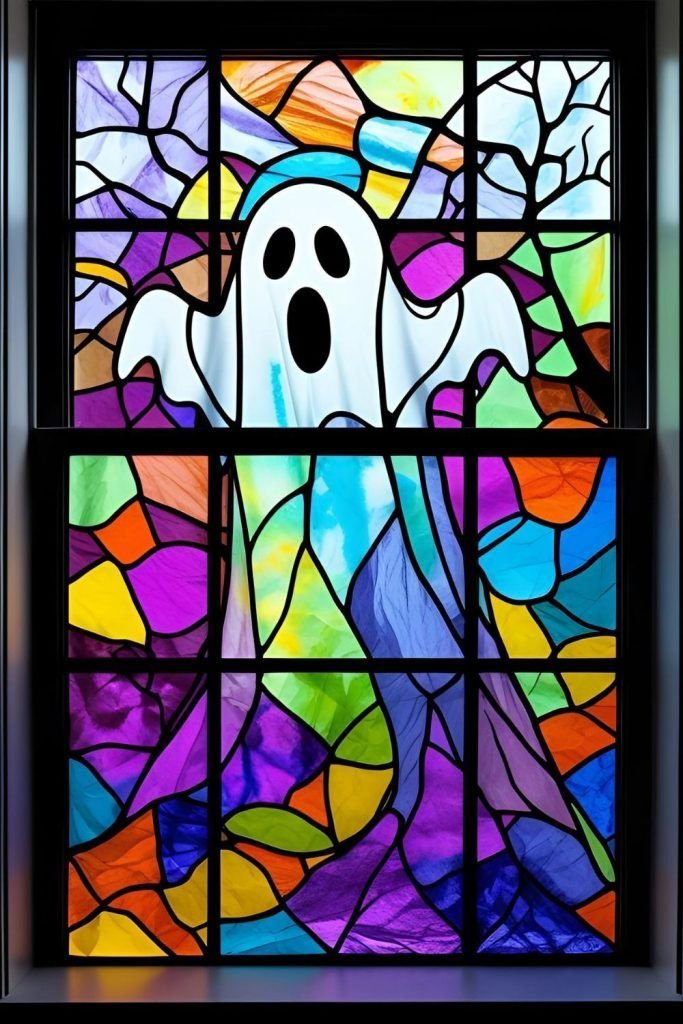
If you love colorful decorations, try creating a Halloween window painting inspired by stained glass.
Start with a bold black outline dividing the glass into decorative sections. Fill the shapes with orange pumpkins, purple moons, green potion bottles, yellow stars, or other Halloween symbols.
Use translucent window paints specifically designed for glass if you want light to pass through the colors.
The dark outlines help separate the different shapes and make the design feel more structured.
This works especially well on smaller windows where you can create one complete composition.
When sunlight passes through the finished painting, the colors can create a beautiful seasonal effect.
17. Gothic Moon and Stars
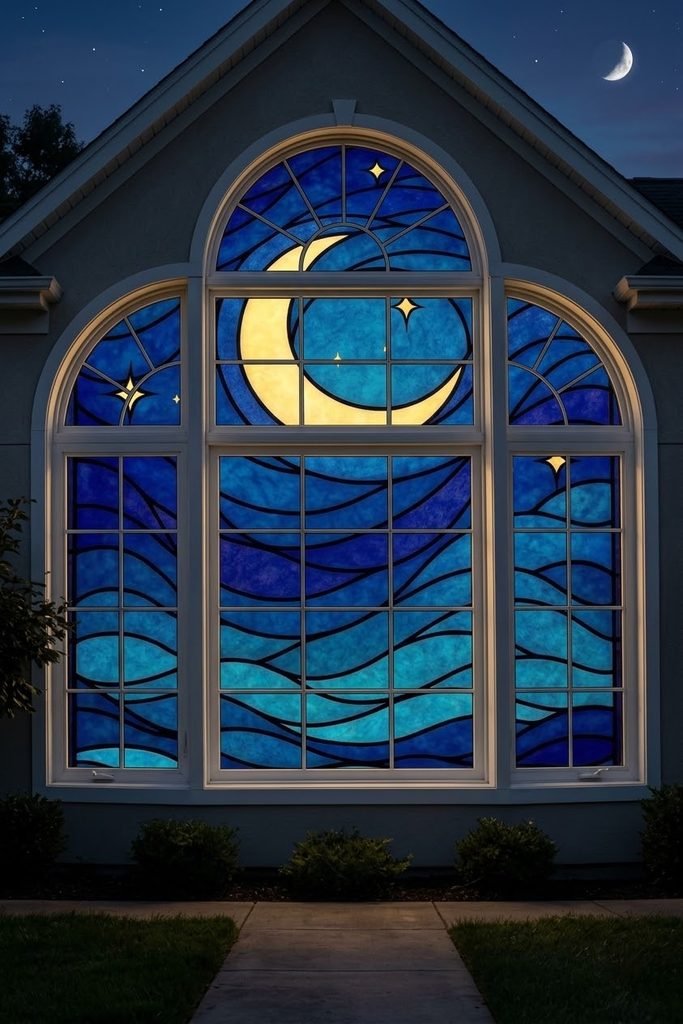
For a Halloween window that feels mysterious rather than playful, try a gothic-inspired celestial design.
Paint a large crescent moon in pale gold, cream, or white, then surround it with delicate stars, small decorative dots, and ornamental details.
Use black outlines to give the design a little more definition.
You can add a few tiny bats or a small black cat silhouette if you want to make the Halloween theme more obvious.
This design looks particularly beautiful on an arched window, but it also works on an ordinary rectangular pane.
It’s a lovely option for anyone who prefers moody, celestial, or vintage-inspired Halloween decor.
18. Spooky Halloween Village
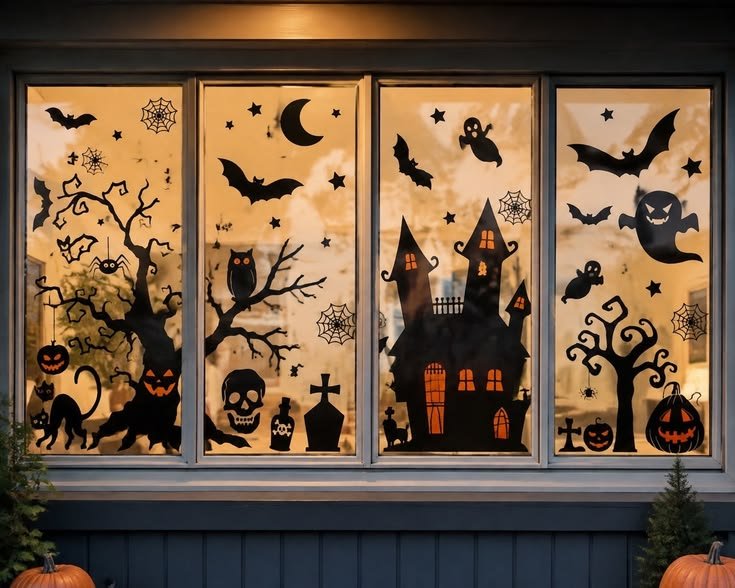
If you have a large front window and want to create something special, turn the entire lower section into a colorful Halloween village.
Paint a collection of crooked little houses with glowing windows, tiny pumpkins beside their doors, and a few friendly ghosts floating between the rooftops.
Vary the house shapes and heights to make the village feel playful and interesting.
Add a large moon, a few bats, and little stars above the rooftops.
You can use traditional orange, black, and purple or introduce muted blue, olive green, and warm yellow for a more unusual color palette.
This is a bigger painting project, but it’s also the kind of window decoration that can become the centerpiece of your Halloween decor.
What to Use for Halloween Window Painting
Before you start painting, make sure you’re using materials that are suitable for glass.
Washable window paints and window markers are convenient options for temporary Halloween decorations. Look for products specifically labeled for glass and check whether they’re designed to be removed after the season.
A few basic supplies will make the process easier:
- Washable window paint or glass-safe window markers
- Small paintbrushes in different sizes
- A black paint marker for outlines and details
- A microfiber cloth for cleaning the glass
- Paper towels for fixing little mistakes
- Printed templates if you prefer tracing your designs
If you’re painting a larger scene, sketch the arrangement on paper first so you can decide where the main objects should go.
Always follow the paint manufacturer’s instructions, test a small area first, and check whether the product is suitable for your particular type of glass.
How to Paint Halloween Designs on Windows
You don’t need complicated techniques to create a cute Halloween window.
Start by cleaning the glass thoroughly and allowing it to dry. Dust, fingerprints, and moisture can make it harder for the paint to adhere evenly.
Next, choose your design and decide where it will sit on the window.
If you’re using a printed template, you can temporarily attach it to the opposite side of the glass and trace the shapes with a suitable window marker.
Paint the larger shapes first, then allow them to dry as directed before adding smaller details.
For example, paint the white body of a ghost before adding its eyes, or finish the orange shape of a pumpkin before drawing its facial features.
Step back occasionally to see how the design looks from a distance.
If you’re decorating a front window, check the finished painting from outside too. Some details that look beautiful up close may disappear when viewed from the street.
Tips for Halloween Window Painting That Looks Good From Outside
If you want your Halloween window decorations to be visible from the street, think about contrast, scale, and placement.
Large shapes are usually easier to recognize than tiny detailed illustrations. A big white ghost or black haunted house silhouette can have more impact than a collection of complicated little drawings.
Bright colors can also help your designs stand out during the day.
For nighttime displays, consider the lighting inside the room. A softly illuminated room behind the window can make painted silhouettes and bright characters more noticeable.
Remember that some designs may look reversed when viewed from the opposite side of the glass. If you’re including letters or directional details, plan for the side from which you want them to be read.
And don’t feel pressured to paint every inch of the window.
Leaving some clear glass around your design often makes the finished painting look more intentional.
FAQ
What paint is best for Halloween window painting?
Washable window paints and markers specifically labeled for glass are practical choices for temporary Halloween decorations. Check the manufacturer’s instructions to confirm that the product is suitable for your window and can be removed afterward.
Can I use acrylic paint on windows?
Some acrylic paints can be used on glass, but standard craft acrylics aren’t necessarily designed for easy removal. For temporary Halloween decorations, choose a product specifically intended for washable window painting.
How do you paint Halloween windows without being good at drawing?
Start with simple shapes such as ghosts, pumpkins, bats, stars, or candy corn. You can also attach printed templates to the opposite side of the glass and trace the outlines before adding color.
Should Halloween window paintings go on the inside or outside?
Painting the inside of the window generally offers better protection from rain and weather. However, always check the paint manufacturer’s instructions and consider which side of the glass will provide the best visibility for your design.
How do you remove Halloween window paint?
Follow the removal instructions for your specific paint or marker. Many washable window products can be removed with water and a soft cloth, but some require a different cleaning method. Avoid abrasive tools that could damage the glass or its coatings.
More Halloween Window Painting Ideas for a Spooky and Cute Home
The best Halloween window painting ideas are the ones that match your personality and the space you’re decorating.
You might love a window full of smiling ghosts, a colorful pumpkin border, or a dramatic haunted house that looks especially spooky after sunset.
Start with a design that feels manageable, experiment with colors, and don’t worry about making every little detail perfect.
A few charming imperfections can make your Halloween windows feel even more fun and handmade.